Client | Creative Director
Role | Animator & Designer
Year | 2024
PRODUCT RENDER
CHALLENGE
This brief was set up because brands, no matter where they are, always seek ways to highlight their products and make them the show's stars. With that being said, the goal here is to gain the trust of our clients and show them we can handle a product render, so take an already established product or create one of your own and transform it into a polished, professional quality, to help aid in convincing the client.
OBJECTIVE
My personal objective this time was really to just test myself on product renders cause I’ve done product renders before. Still, I wanted to see how much more I could expand on learning something new by making a product of my own and actually animating something a little bit more client-targeted.
RESEACRH
When I was prepping for this project, funnily enough, I was most focused on the different ways I could potentially light the product. I pretty much just went looking for lighting ideas and references for how to go about lighting g, things and that was super helpful cause it also helped me get a different style and vibe between my style frames, studios I looked at for lighting inspiration, and down the line some idea inspiration future deluxe, steelworks studio, builders club as well TAVO.
FUTURE DELUXE
BUILDERS CLUB
STEELWORKS STUDIO
TAVO
CONCEPTS
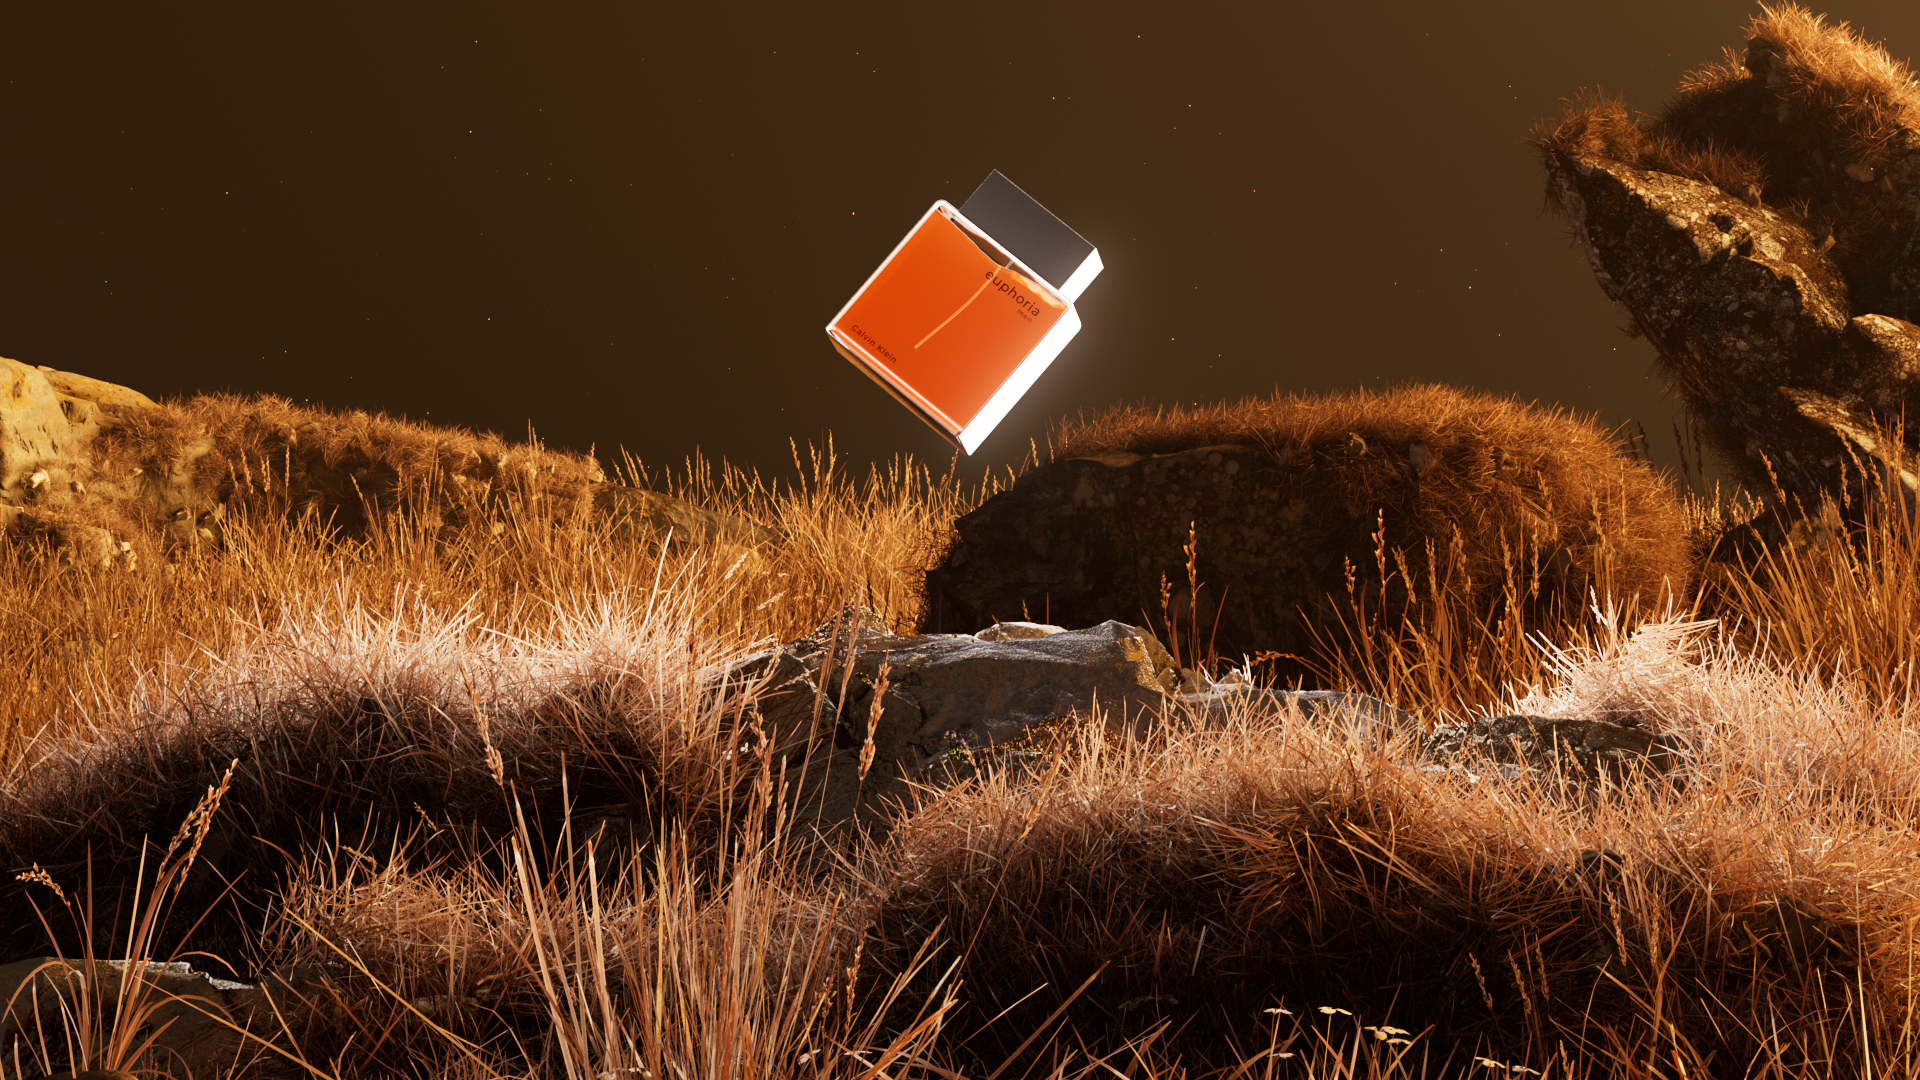
PRODUCT 01
PERFUME
This was pretty much where the initial idea for this project came from cause I had already done a perfume render and had that ready to pretty much go at a moment’s notice if I needed it so the perfume was a pretty easy pick for one of the products.
Main Reference: Bruma Parfum
PRODUCT 02
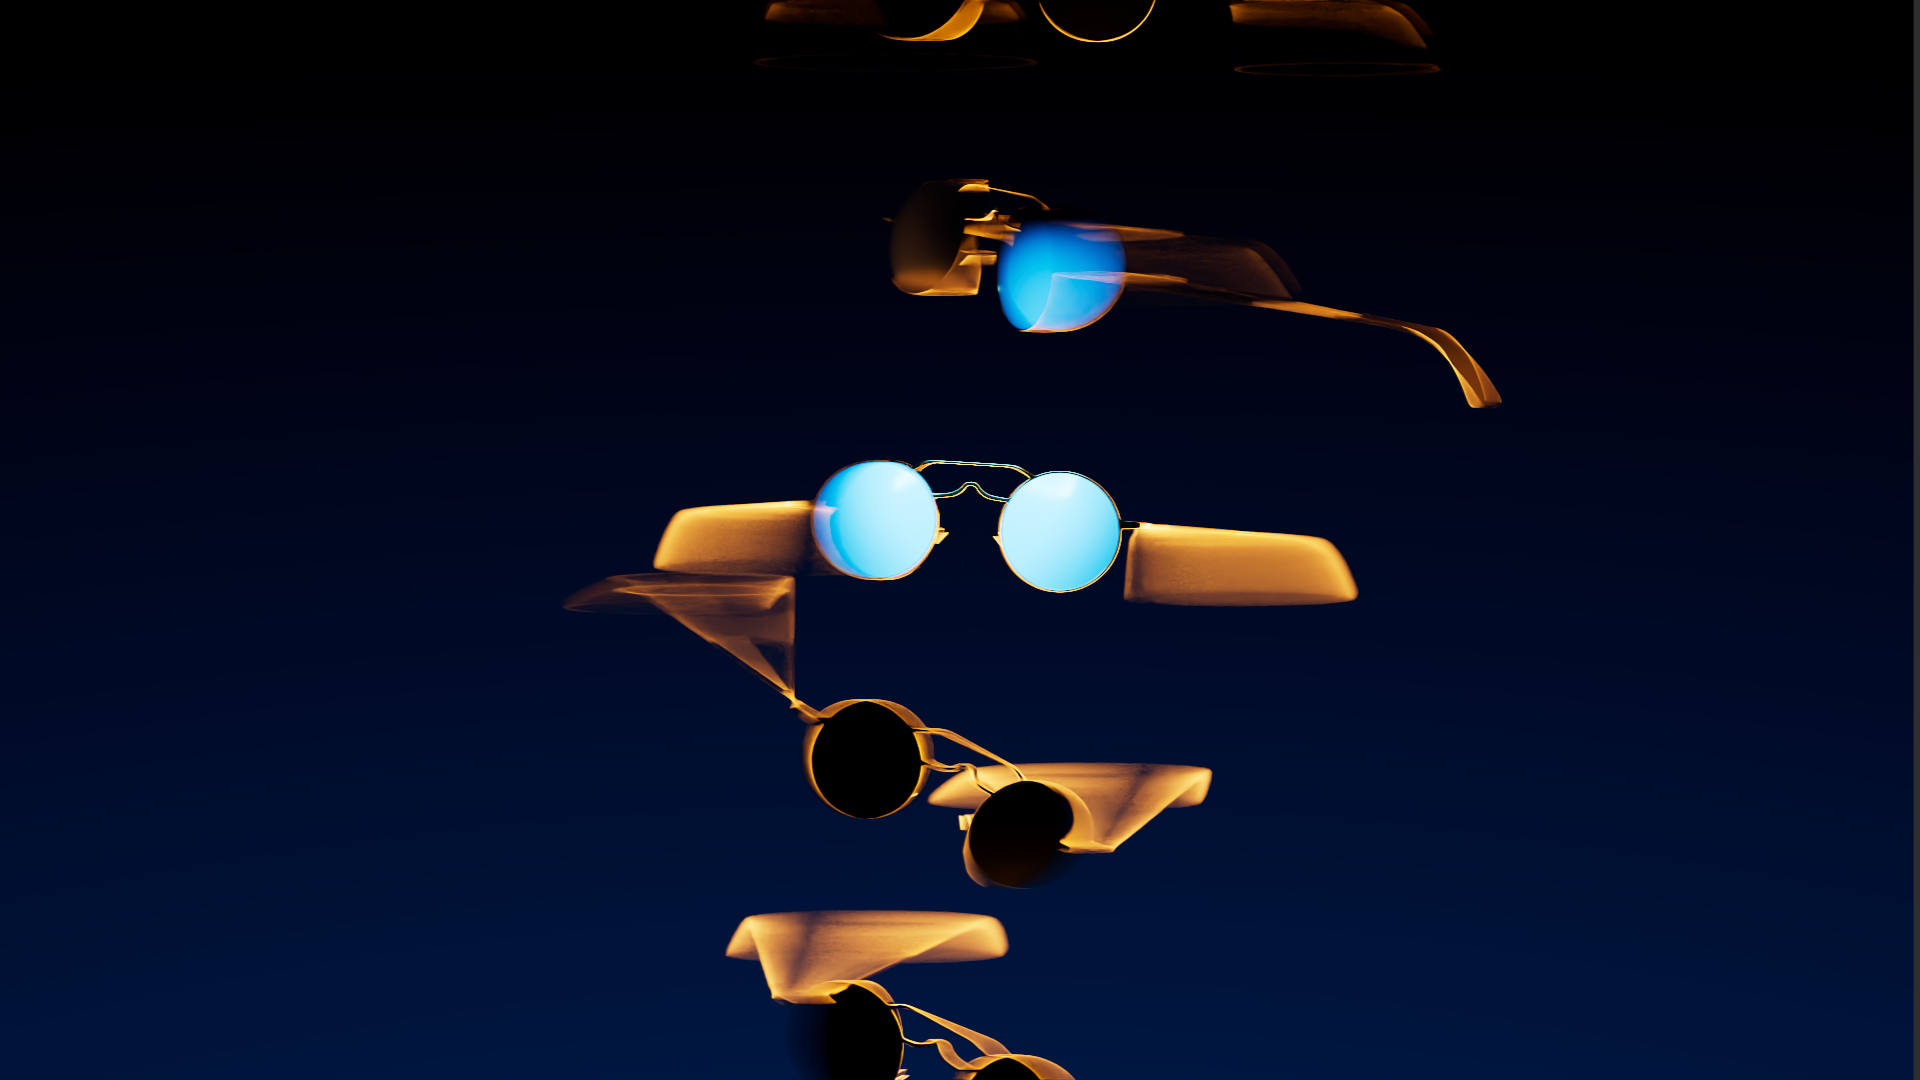
GLASSES
As to why I chose glasses it was pretty straightforward forward I personally wear them and I like having my glasses aside from that because I had my own pair of glasses It made it significantly easier to just take them off and look at them if I need to double any modeling issues I may have had and also look into things with more details.
Main Reference: Oakley - Mars
PRODUCT 03
CAR
I brought in the idea of a car cause when I looked at other 3D motion designers’ bodies of work, I always noticed that there was a car render lying in there somewhere, so I wanted to try my hand as well and get a car render for myself as well.
Main Reference: Porsche Taycan
SELECTED APPROACH - GLASSES
DESIGN ELEMENTS
COLORS
#004796
#F3C356
#FFFFFF
For this project, I chose to focus on glasses, specifically envisioning them as part of a luxury brand like Cartier. From the start, I knew I wanted to incorporate a golden color palette to convey elegance, paired with the blue hues already present in the scene. Initially, my idea was to create a setting reminiscent of the steelworks mountain landscape I had showcased earlier. However, as I worked on it, I realized that approach wasn’t quite clicking and would take too long to execute. So, I pivoted and decided to explore a space-inspired setting instead, which gave me more room to experiment with the golden and blue tones.
TECHNICAL PROCESS
Cinema 4D
Redshift
After Effects
Daz 3D
TOOLS
3D STUFF
Since the project was just a short week-and-a-half assignment, I decided to keep things simple—which, honestly, was a nice change of pace. I didn’t have to stress over complex simulations or troubleshoot endlessly to get something to work just right. It felt refreshing to focus on the basics and let the process flow more naturally.
Cinema Stuff
-

Initial Modelling
To kick off this project, I started by modeling the glasses I had envisioned. Since I planned to create my own unique design, using pre-made models wasn’t an option for the final piece. However, I did rely on pre-made models in a different way: as references. These models helped guide me through the process, giving me a clear benchmark to ensure I was on the right track with the proportions and details in my scene.
-

Column Growth
The crater shot posed an interesting challenge because it highlighted a genuine limitation of Redshift—its displacements aren’t as powerful as those in Octane. To work around this, I turned to a displace modifier. With a few tweaks, particularly within the layering system of the displacement tool, I was able to achieve the desired effect. It’s a handy trick that I’m sure a lot of people might already know about, but it really came through for me here.
ANIMATION PASSES
1st Pass
- This pass was really unfinished so there wasn’t really much to comment on however one thing that was advised to do was to utilize the blur when movements occured.
DESIGN
- Take away the fade in with the moon in the opening shot to let the audience register what is happening first
- Try bringing some moon elements or rocks back into the end shot to connect them a bit more.
- When the glasses snap open, try rotating them a bit more so as to help really understand what is going on.
- Extrude the lenses a bit so the light can bend around the glasses
- When the figure turns try to utilize that as another moment to see the logo.
2nd Pass
OUTCOME
This project was probably the most fun I’ve had while working on something in a minute. It was a great opportunity to learn and experiment, and it served as a solid reminder that sometimes simplicity really is the best approach.


